
CUL-M-RITE XL: Fix It In A Pinch- NOTE- This VIODS Warranty

OK, you ever have this happen? You'er getting ready for a tournament the night before and as you check all your gear, you look at your scale and it has a dead battery?
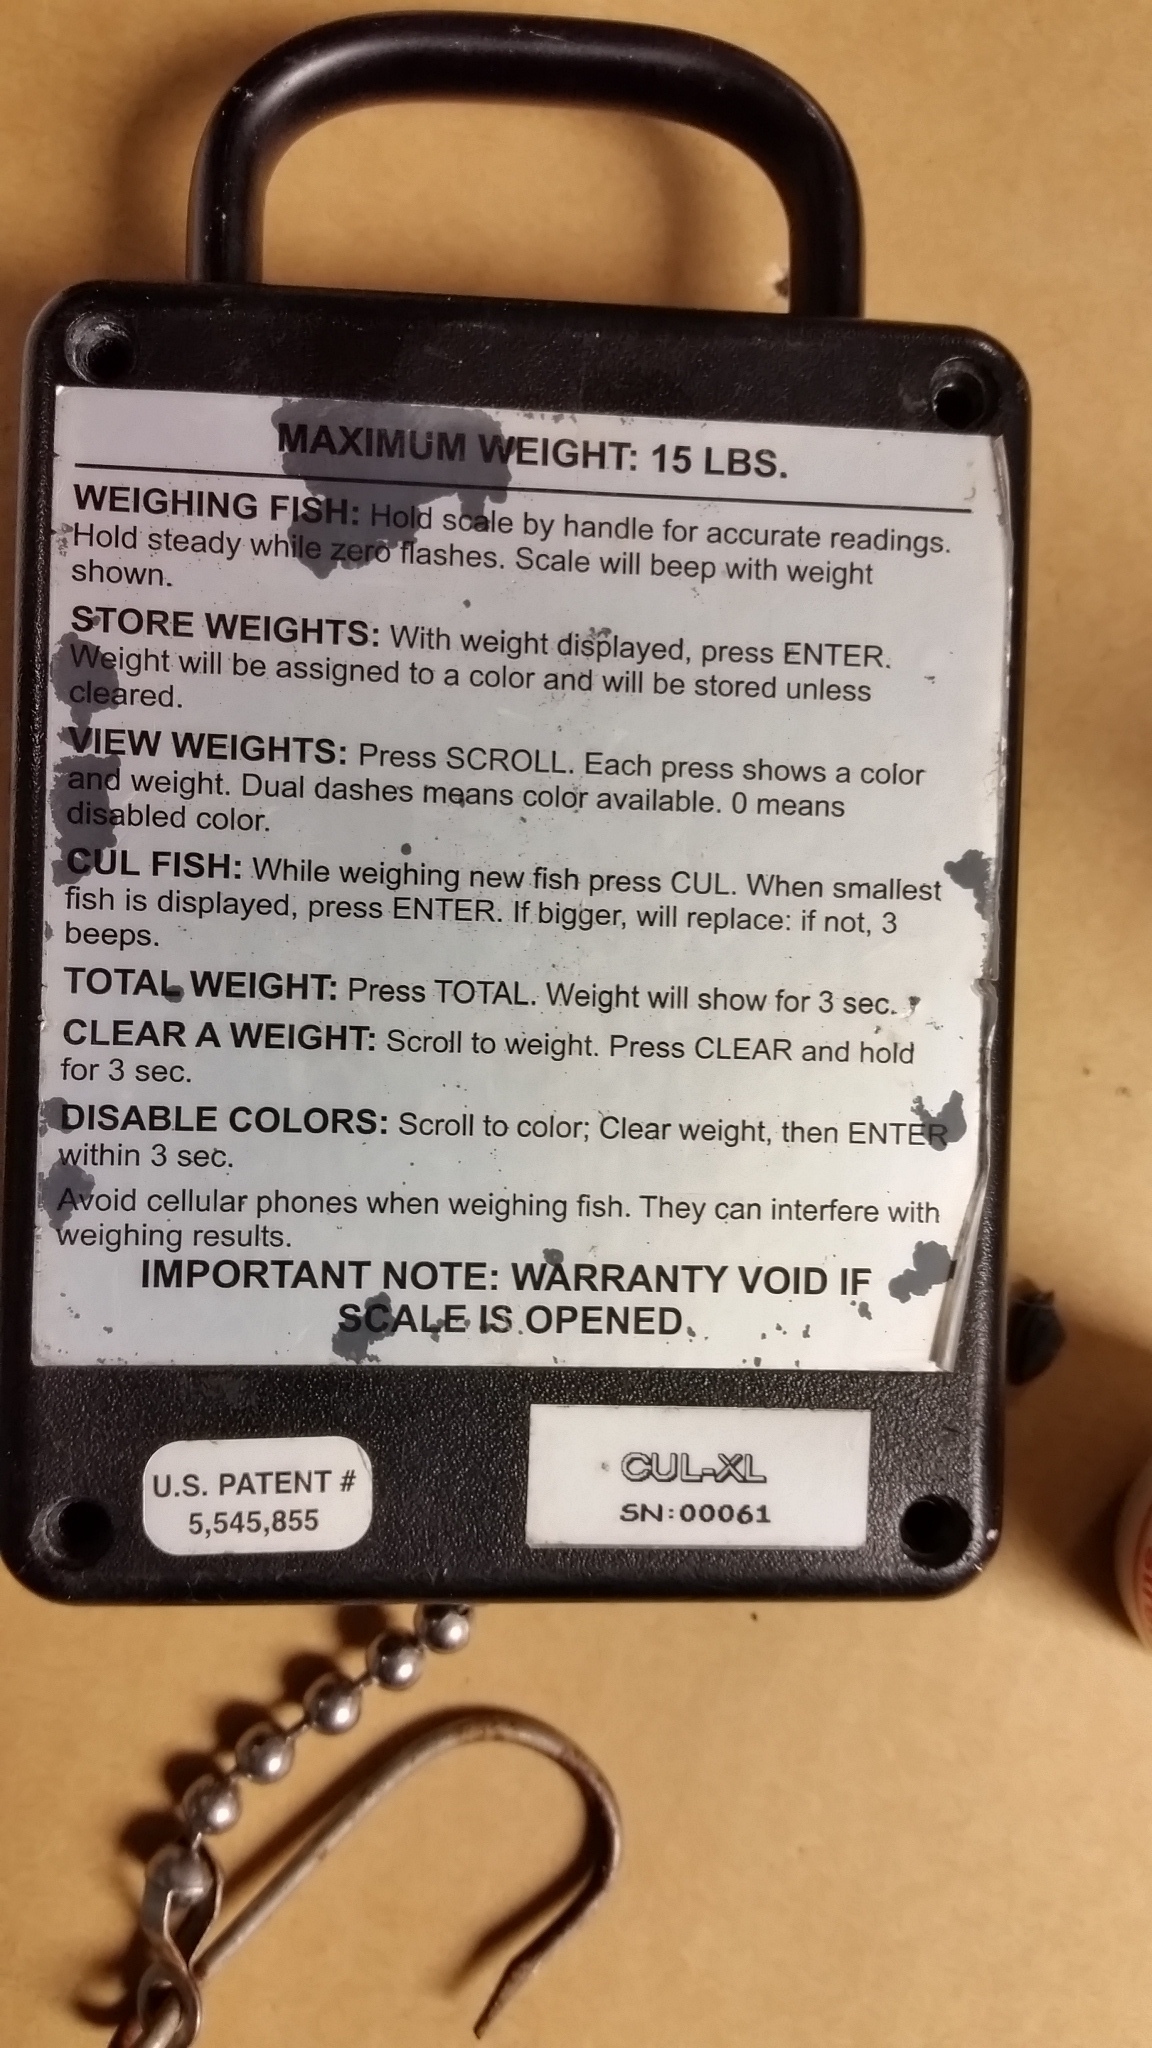
Well it happen to me just the other day. As you can see I have one of the first scales ever sold with the SN being 61. I bought this unit from Gary Yamamoto in 1996 in my very first US Open at Lake Mead. This is by far the best scale I have ever owned and is my go to scale when money is on the line.

But as luck would have it I have to do some quick thinking to get this baby to work again by the morning. Remember what I am doing here will Void the warranty but after years of perfect use I had to make something happen.
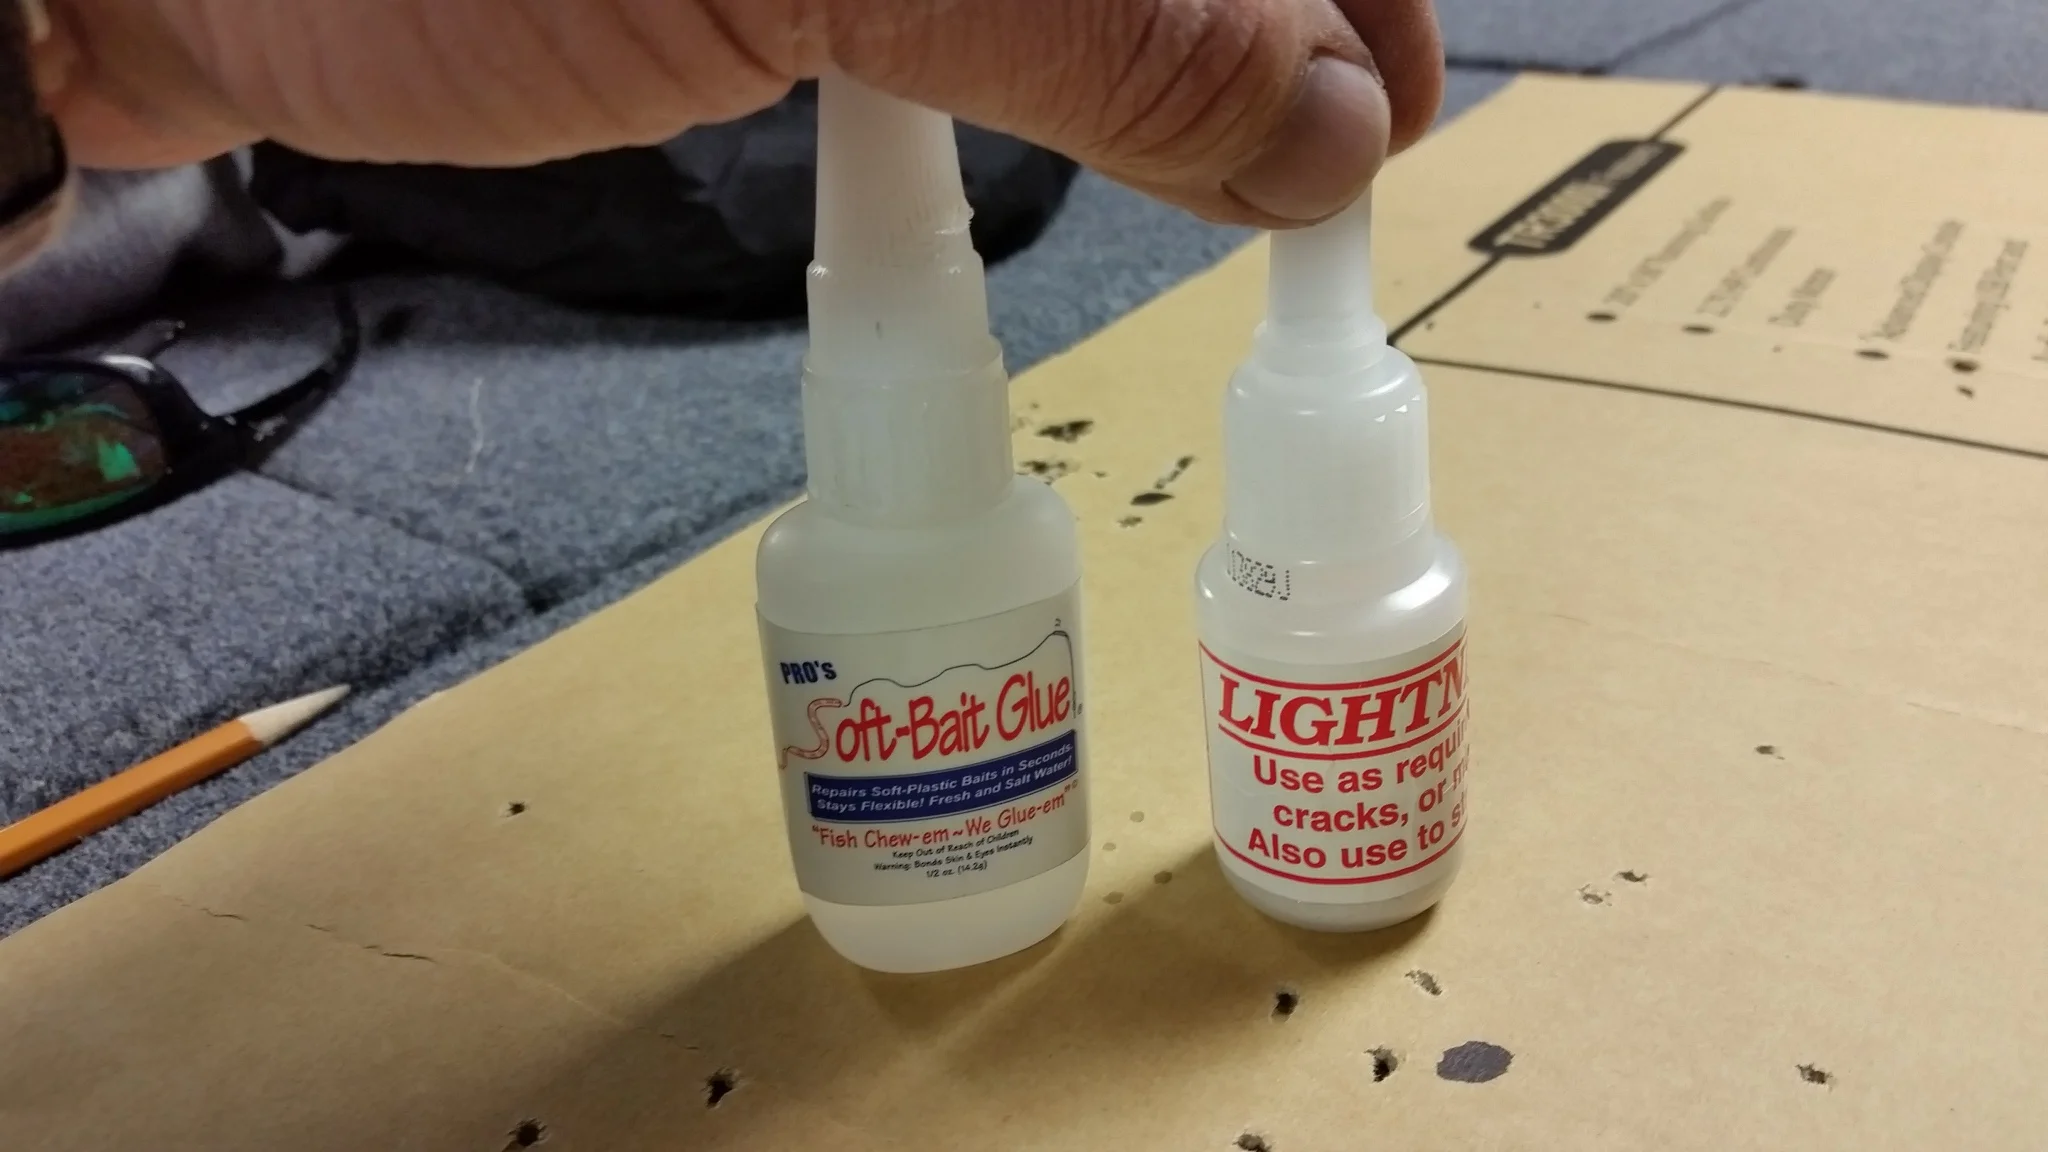
My first problem was that I did not have a solder gun or anyway to attach a 9V battery so I grabbed a bottle of PRO's Soft-Bait Glue and some Lighting Fill. You can check out theBBZ.com/store for the glue and check out Mike Rice (owner of PRO's Soft Bait Glue) website @ http://www.prosoftbaitglue.com/ for the Lighting Fill. Both of these products are a must have.
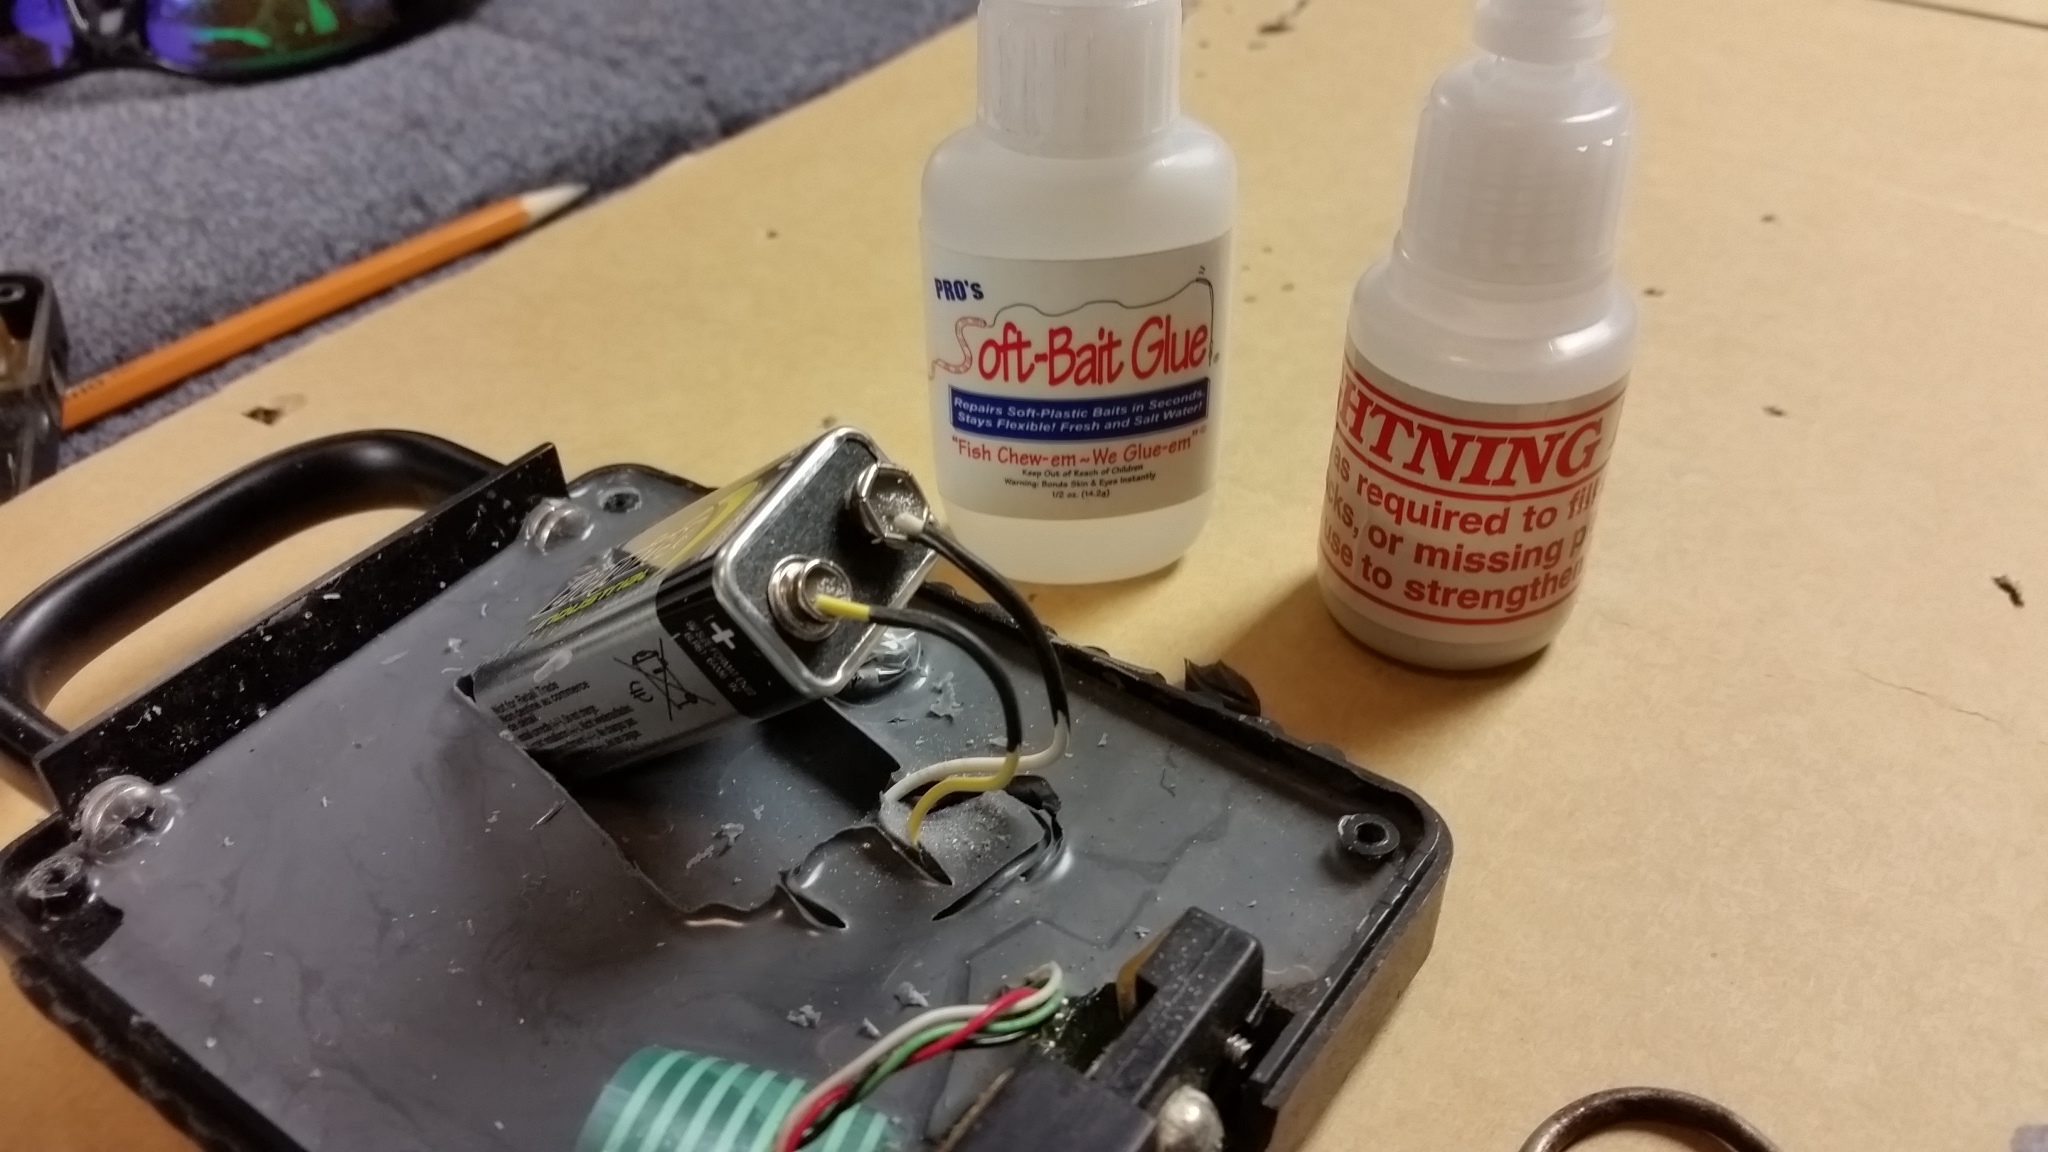
When you open the back of this unit you will see that the 9V battery that comes with it is soldered in place kinda like the photo above. With some "Out Of The Box" thinking I made a Siemantel's weld with the Filler and Glue combo and I was back to being ready in a very short time. The problem is that this is not a permanent fix.

First thing I needed to do was to go to TackleWearhouse you can get there by going to my link http://thebbz.com/store and I ordered a new CUL-M-RITE as a back up finally after all of these years :), yes they are that good. Second thing was I went to Amazon and order me a 9V battery attachment and a solder gun.

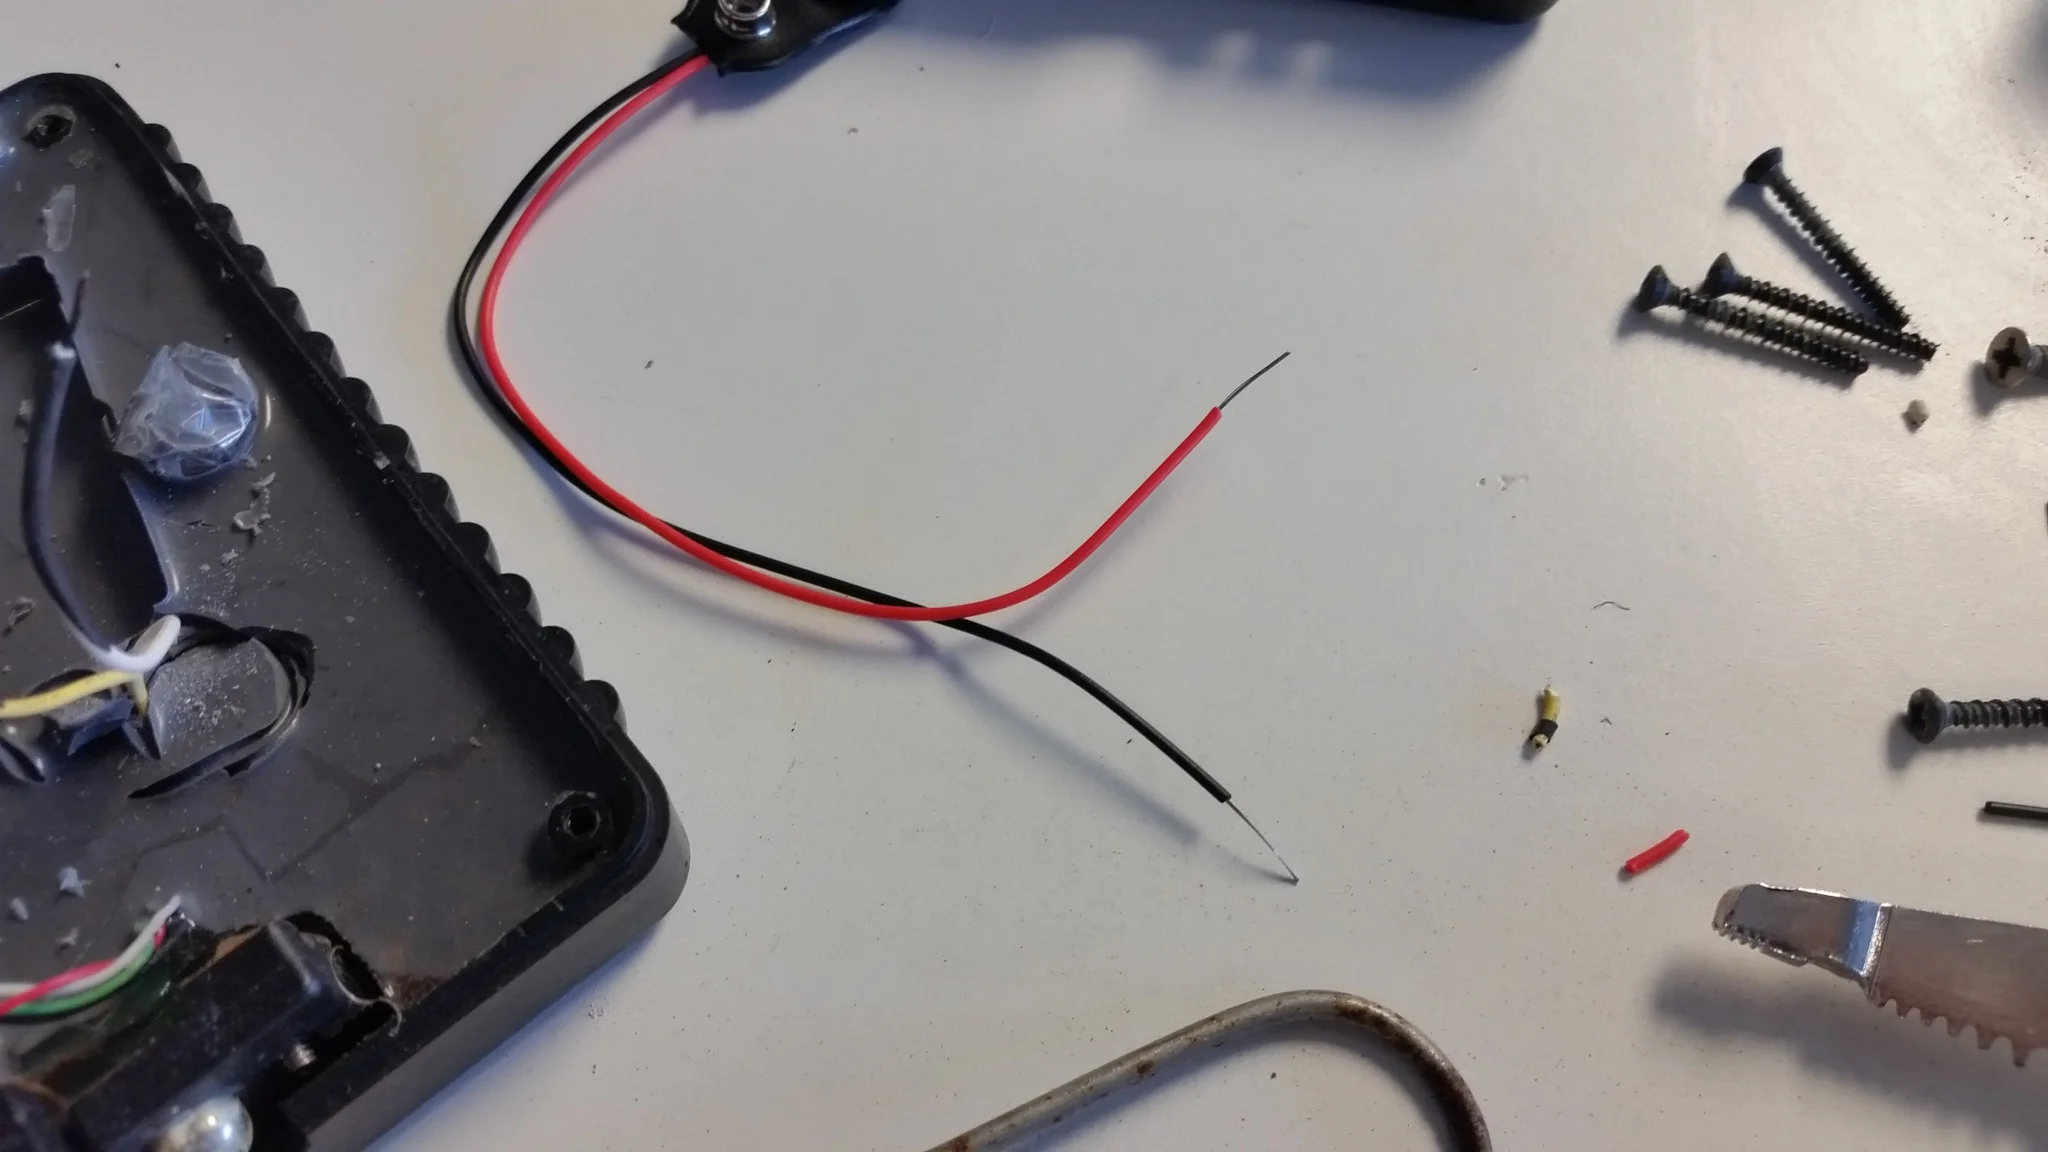
Two days later I got the parts from Amazon and I re-opened the unit and pulled the wired from the battery.

I took the 9V attachment clip and stripped both wire ends.
Here is just another quick view.

I grabbed a little heat shrink and cut a few 1 1/2 inch sections

Slid them on the wires and then twist both wires together.

Make sure you place the heat shrink far away from solder gun the they do not shrink on you when you solder. Place them on the other side closer to the connection tab for the 9V battery.

Solder the two wires, slide the heat shrink over the joint and hit is with a lighter and add your battery and put everything back together and you are ready to go.
In the photo above you can see that the heat shrink was placed on the wrong side and I had to start over but my mistakes are your gains. Hope this helps you out when you need a quick fix or a permanent solution.